{{ data.msg }}

Your browser does not support all of our website’s functionality. For an improved shopping experience, we recommend that you use the most recent versions of Google Chrome, Safari, or Firefox.

PRÊT À TOUT

Pour éviter tout désagrément lors de votre sortie, recueillez toutes les informations essentielles concernant les sentiers sur lesquels vous allez rouler.

RETRAIT ET INSTALLATION DE LA ROUE

Le retrait et l’installation de la roue arrière restent faciles et rapides que vous changiez de roue en milieu de course ou que vous prépariez votre vélo pour le transport.

Image connexe

COMMENT : RETIRER VOTRE ROUE ARRIÈRE

Image connexe

COMMENT : INSTALLER VOTRE ROUE ARRIÈRE

RÉGLAGE PRÉCIS

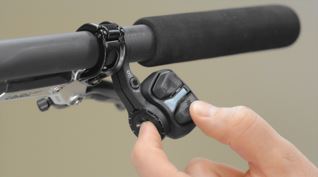
Pour optimiser encore davantage les performances de votre dérailleur ou éliminer les bruits indésirables, réglez la position du dérailleur arrière grâce à la fonctionnalité MicroAdjust™ depuis l’unité de commande ou l’application AXS. Cette fonctionnalité compense les légers écarts qui peuvent survenir au niveau du moyeu.

CONSEIL TECHNIQUE: Moins, c'est plus. Utilisez MicroAdjust cran par cran jusqu’à ce que le fonctionnement soit parfait.

Image connexe

COMMENT : RÉGLAGE PRÉCIS DEPUIS LA COMMANDE POD

Image connexe

COMMENT : RÉGLAGE PRÉCIS DEPUIS L’APPLICATION AXS

TRAILSIDE CHECKS

Image connexe

RÉINITIALISATION EN CAS D’IMPACT SUR LE BORD DU SENTIER

La fixation Montage Direct de votre Eagle Transmission a été conçue pour pivoter en cas d’impact frontal afin de protéger votre dérailleur du danger. Une simple réinitialisation directement sur le bord du sentier peut être parfois nécessaire pour réaligner la position de votre dérailleur. Il y a deux façons de réaliser cette réinitialisation : une méthode très simple qui consiste à utiliser l’axe arrière ou une méthode plus manuelle qui peut être effectuée du bout des doigts.

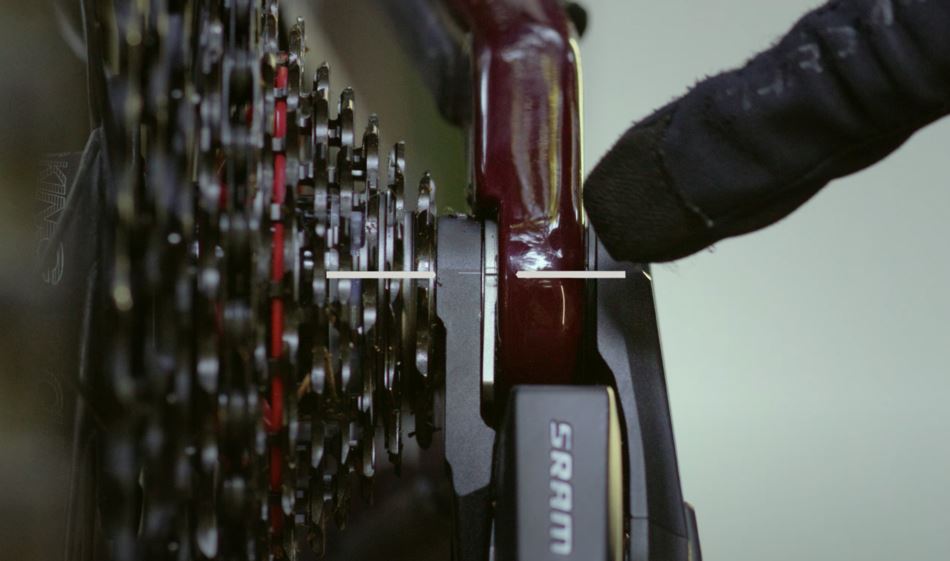
Ce à quoi il faut prêter attention : si vous tapez votre dérailleur, vérifiez que le repère sur l’anneau cranté est aligné avec le repère de la fixation de Montage Direct. Si l’alignement est incorrect, une réinitialisation en cas d’impact sur le bord du sentier doit être réalisée.

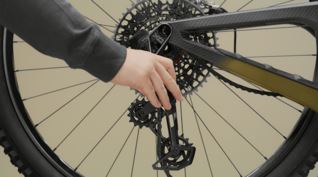
Image connexe

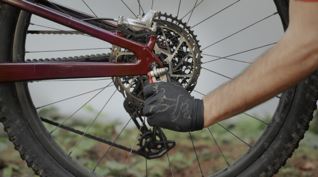
COMMENT : AJUSTEMENT AVEC L’AXE

Image connexe

COMMENT : AJUSTEMENT À LA MAIN

Image connexe

ҪA DOIT RESSEMBLER À ҪA

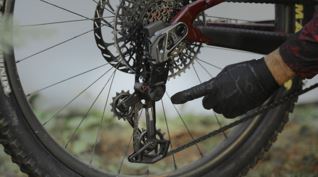
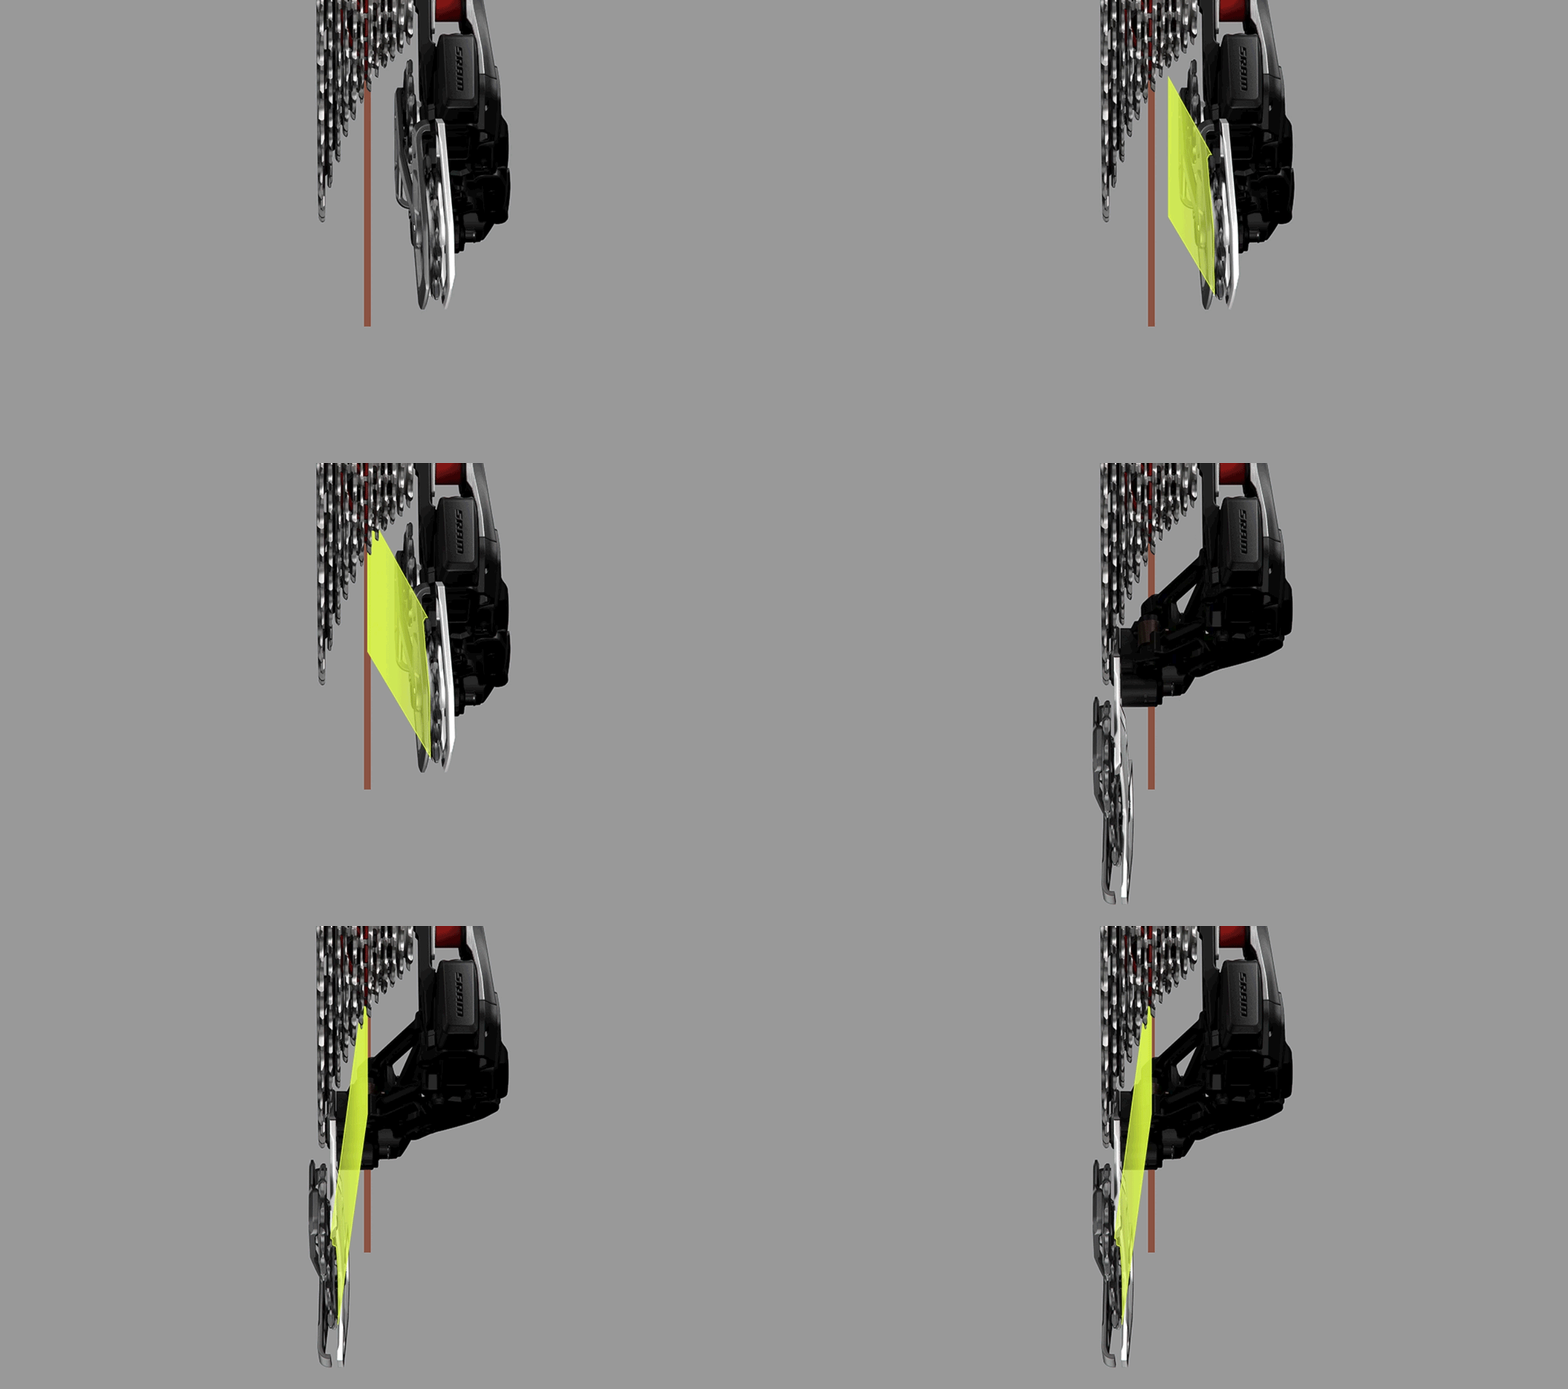
Le dérailleur Eagle Transmission est équipé de notre chape appelée « Inline » qui est dotée de galets. Si le galet supérieur a été conçu pour rester parfaitement aligné avec la cassette, le galet inférieur conserve un angle optimal avec le plateau ; ce qui donne l’impression que le dérailleur est tordu.

MECHANICAL CHECK

If the shifting performance of your Eagle Transmission suddenly goes from good to bad, you need to confirm if your derailleur setup position has changed. This position in relation to the cassette is essential for the system to shift perfectly. Perfect setup, perfect performance.


STEP 1: Check whether you need to do a Trailside Impact Reset: verify that the knurled ring mark is aligned with the mark on the full mount. If misaligned, a trailside impact reset is required. See the Trailside Impact Reset section above. If the two marks are aligned, move to the next step.

STEP 2: Confirm the required Setup Cog, and Setup Key position for your bike by checking the Chain Length & Setup Key Calculator, or in the SRAM AXS App. 

STEP 3: Shift to the required Setup Cog and locate the Key Line (A or B) on the derailleur cage that matches the Setup Key (A or B) position of your derailleur. You will need to verify that the specified Key Line is aligned with the edge of the Setup Key/Cage Mode housing. If the housing is overlapping, or there is a noticeable gap, reperform the derailleur set up process from the Tighten The Components Step

Image connexe

VÉRIFICATION DES SYSTÈMES NUMÉRIQUES

Si votre système Eagle Transmission ne passe plus les vitesses, cela est probablement dû à quelque chose de très simple : la batterie d’un dérailleur qui a besoin d’être rechargée, la pile d’une commande qui doit être remplacée ou un système qu’il faut appairer de nouveau.

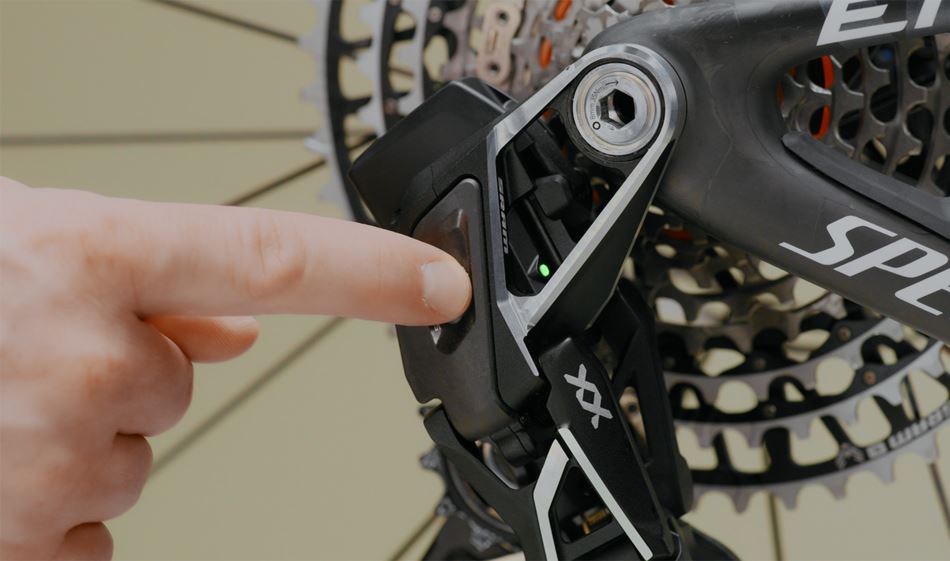
Vérifiez le niveau de charge de vos piles/batteries en appuyant sur le bouton AXS du dérailleur et de la commande. Aucun témoin lumineux ? Cette pile/batterie est déchargée.

Si les piles/batteries ont encore de la charge, appairez de nouveau le système pour vérifier que tous les composants communiquent parfaitement entre eux.

CONSEIL TECHNIQUE: Si la pile d’une commande AXS Pod se trouve totalement déchargée alors que vous roulez, activez vos changements de vitesses en appuyant une ou deux fois sur le bouton AXS du dérailleur. Appuyez une fois pour passer sur une vitesse plus dure ; appuyez deux fois pour passer sur une vitesse plus facile.

PERFECT SETUP

If your Eagle Transmission isn’t shifting well upon set up, or after making some changes to bike geometry or chainring size, you will need to confirm that your derailleur setup position is correct. This position in relation to the cassette is essential for the system to shift perfectly.

Eagle Transmission’s all-new, simplified set up procedure is a radical departure from previous drivetrain systems. It gives simple to set up a new meaning, but it is also a new process for everyone to learn. If one step is overlooked, it may cause the system to be setup incorrectly. Most often, carefully reperforming the setup procedure will solve most setup errors. Perfect setup, perfect performance.

STEP 1: Confirm the required chain length, Setup Cog, and Setup Key position for your bike by checking the Chain Length & Setup Key Calculator, or in the SRAM AXS App. For bikes that include an idler pulley, please see the Idler Pulley Information link below instead of using the calculator.

STEP 2: Starting with the Powerlock, carefully count the links to verify that the chain is the correct length as found in step 1. If the chain is the correct length, move to the next step. If too long or too short, correct the length and move to next step.

STEP 3: Verify that your derailleur is in the correct Setup Key position (A or B) as identified in step 1, located on the underside of the P-knuckle.

STEP 4: Shift to the required Setup Cog and locate the Key Line (A or B) on the cage that matches the Setup Key (A or B) position of your derailleur. You will need to verify that the specified Key Line is aligned with the edge of the Setup Key/Cage Mode housing. If the housing is overlapping, or there is a noticeable gap, reperform the derailleur set up process from the Tighten The Components Step.

LES FONDAMENTAUX AVANT LA PREMIÈRE SORTIE

PRÉCÉDENT

S’APPROPRIER LE SYSTÈME

Suivant