VIVID AIR SETUP AND TUNING GUIDE
So, you got yourself a new Vivid, installed it on your bike, and now you’re ready to set the air pressure. It is important to note that Vivid's design requires a slightly different pressure equalization process than you might be used to—but not to worry! We’re here to walk you through setting up your new Vivid to ensure you get the most out of it.
Vivid’s all-new, larger air spring requires a more in-depth pressure equalization process between the positive and negative air chambers. The dimple that allows the air pressure to swap between positive and negative chambers has moved deeper into the travel of the shock, now closer to the 35% sag hash mark on the damper tube (compared with Super Deluxe’s dimple location at around 15% sag). This requires equalizing the positive and negative air pressures multiple times in smaller increments to achieve the correct balance. Follow this procedure to set sag on your rear shock properly.
Before we dive into it, we suggest heading to Trailhead to get a starting air pressure and Rebound setting recommendation for your rider weight and desired sag. Got it? Okay, let’s get to it.
Vivid Setup Procedure
1. If your shock has a Threshold lever, make sure it’s set to Open.
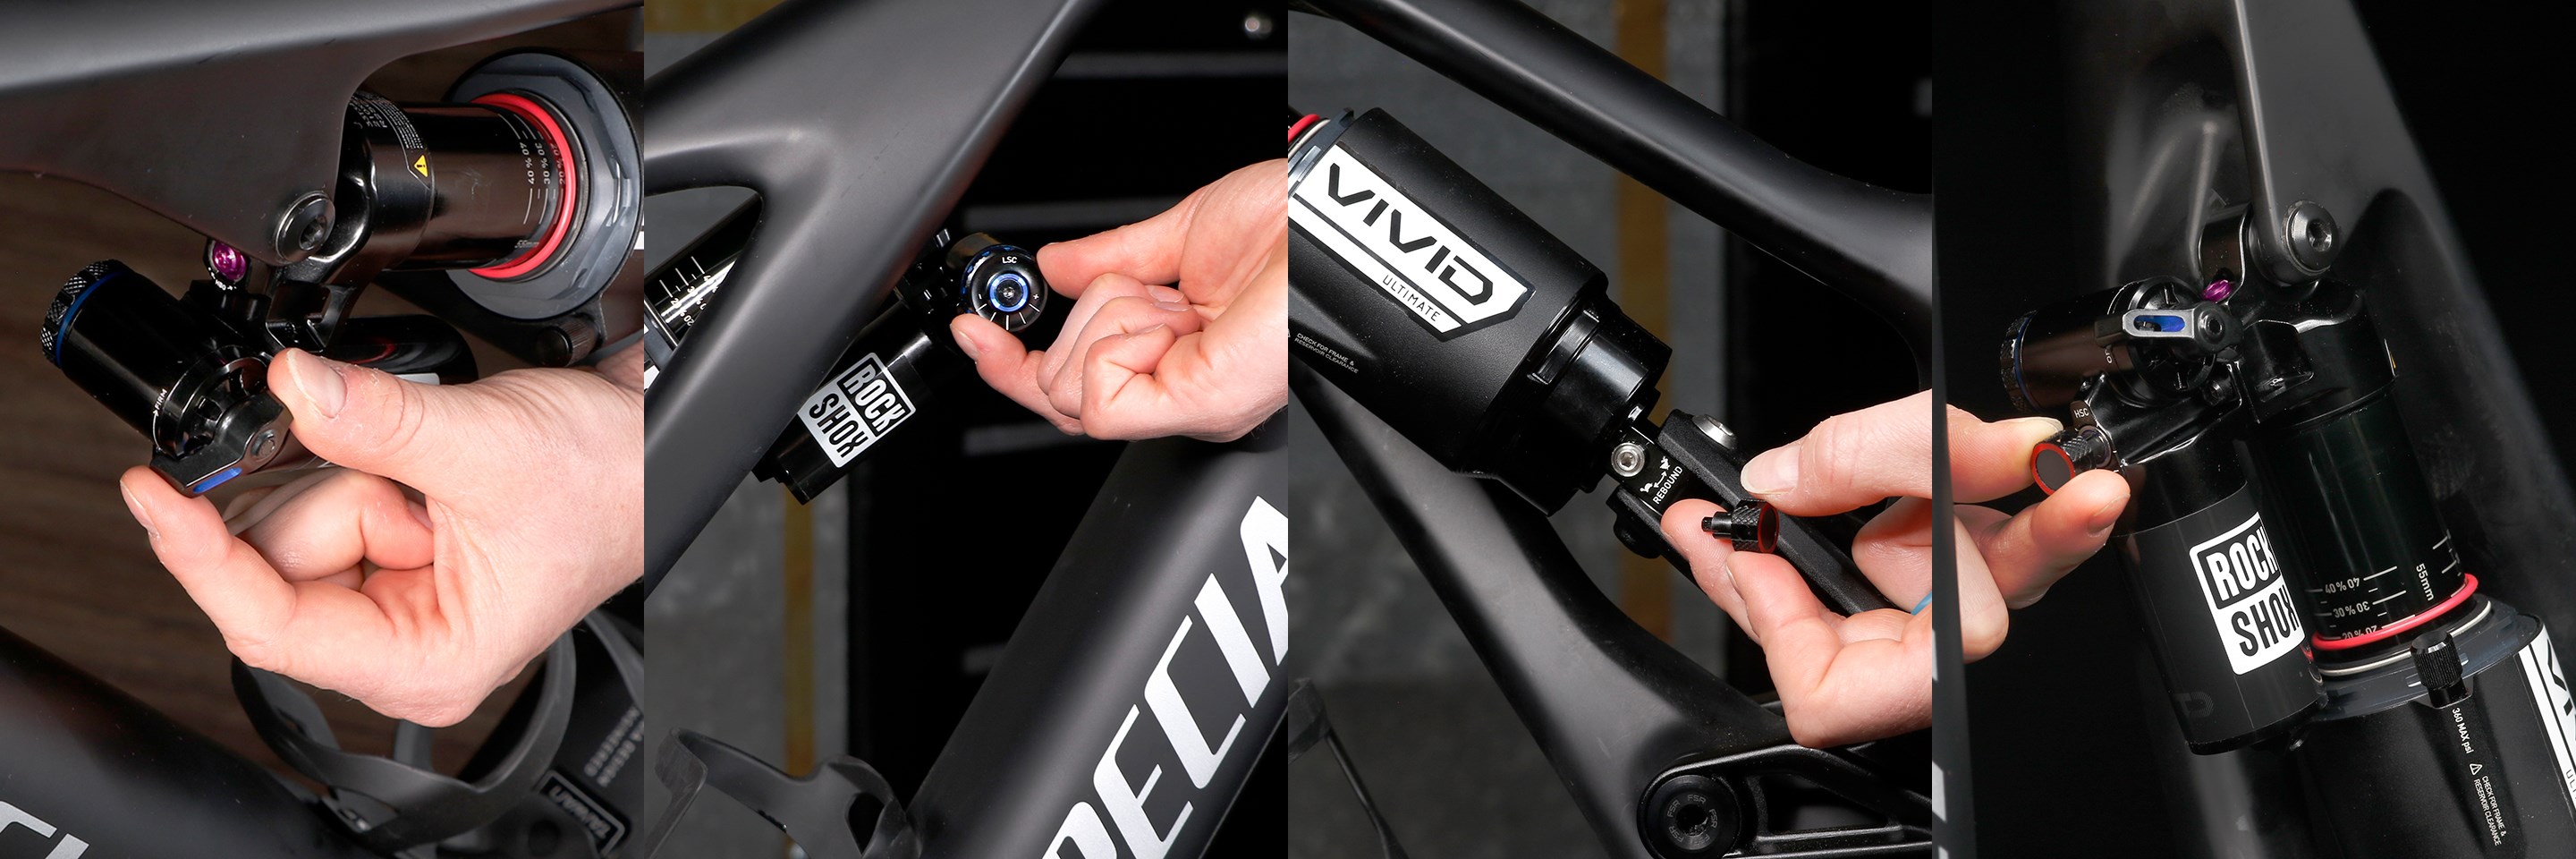
2. Make sure your Compression and Rebound dials are all set in the middle of their adjustment range. This includes High Speed Compression (HSC) and Low Speed Compression (LSC) adjustments for Vivid Ultimate. (Psst... did you know that Vivid's Rebound Knob pops out to reveal a 3mm hex wrench that can adjust HSC and Hydraulic Bottom Out? Now you do!)
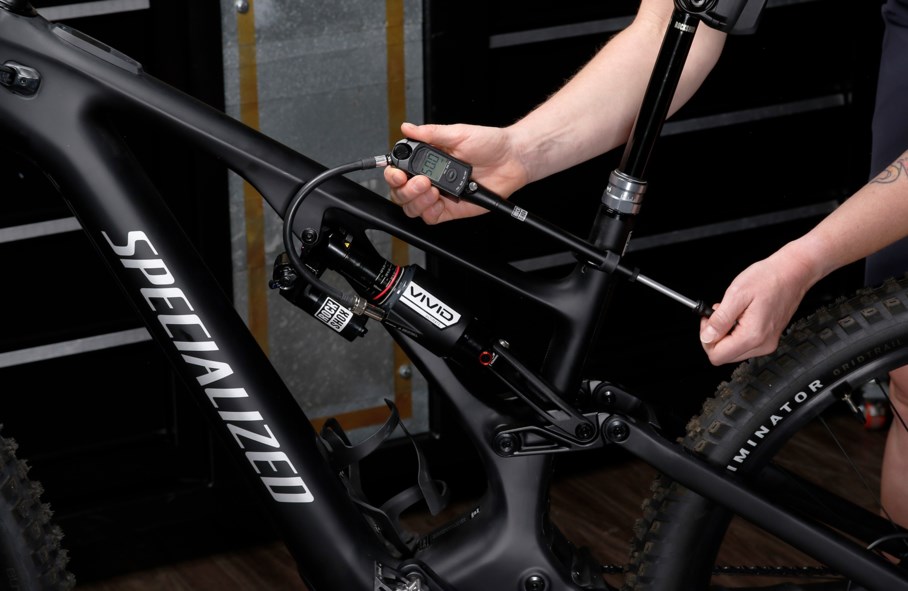
3. Install the shock pump and inflate the air spring to 50-75 PSI to make the first air equalization swap easy. Remove the shock pump.
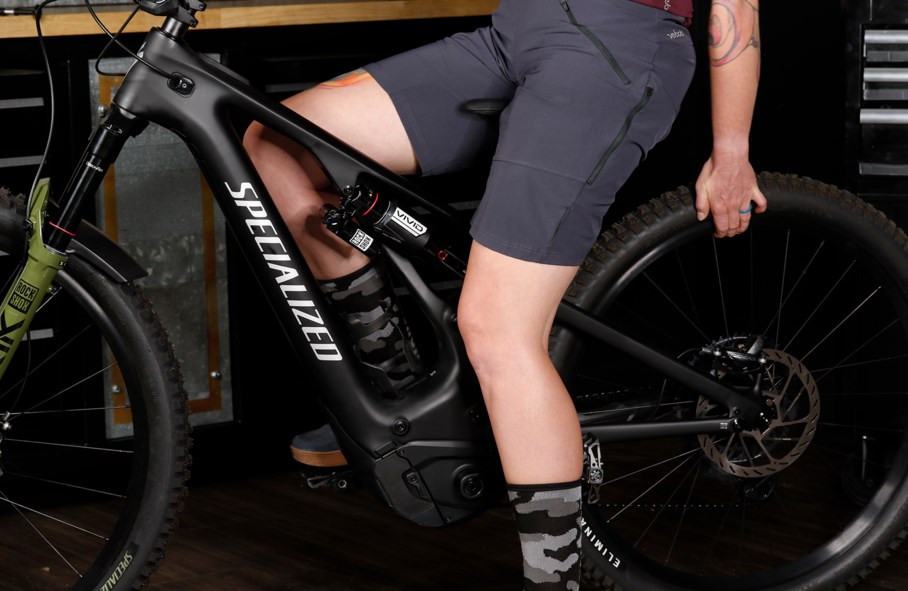
4. Lower your saddle and sit on it while reaching back to grab the rear wheel. Pull up on the rear wheel and weight the rear shock to compress it to 35% sag. You’ll hear a slight “hiss” as the air passes the bypass dimple; this is the air transferring from the positive air chamber to the negative air chamber. The shock’s air pressure reading will drop—this is normal.
5. Install the shock pump, add another 50-75 PSI, remove the shock pump, then repeat steps 4 and 5 until you reach the desired pressure and sag setting (we recommend 30% sag). Set your Rebound to the number suggested in Trailhead (remember, the number is clicks from closed).
6. Go ride! You'll want to keep your Compression settings dialed to the middle of the range until you find the right air spring pressure. If you need more bottom-out support, add one click of Hydraulic Bottom Out at a time. If you still want more support, throw in a Bottomless Token and repeat this setup procedure. Once your air pressure settings are dialed, fine-tune your Compression and Rebound damping to find your perfect ride feel.

Learn more about what makes Vivid, well, Vivid, in Vivid Development. Check out the Suspension Setup and Tuning Guide to learn more about setting up all RockShox forks and rear shocks. Questions about required tools for service, Bottomless Token count, or how to know if you've used full travel? Head to the Vivid FAQ page.
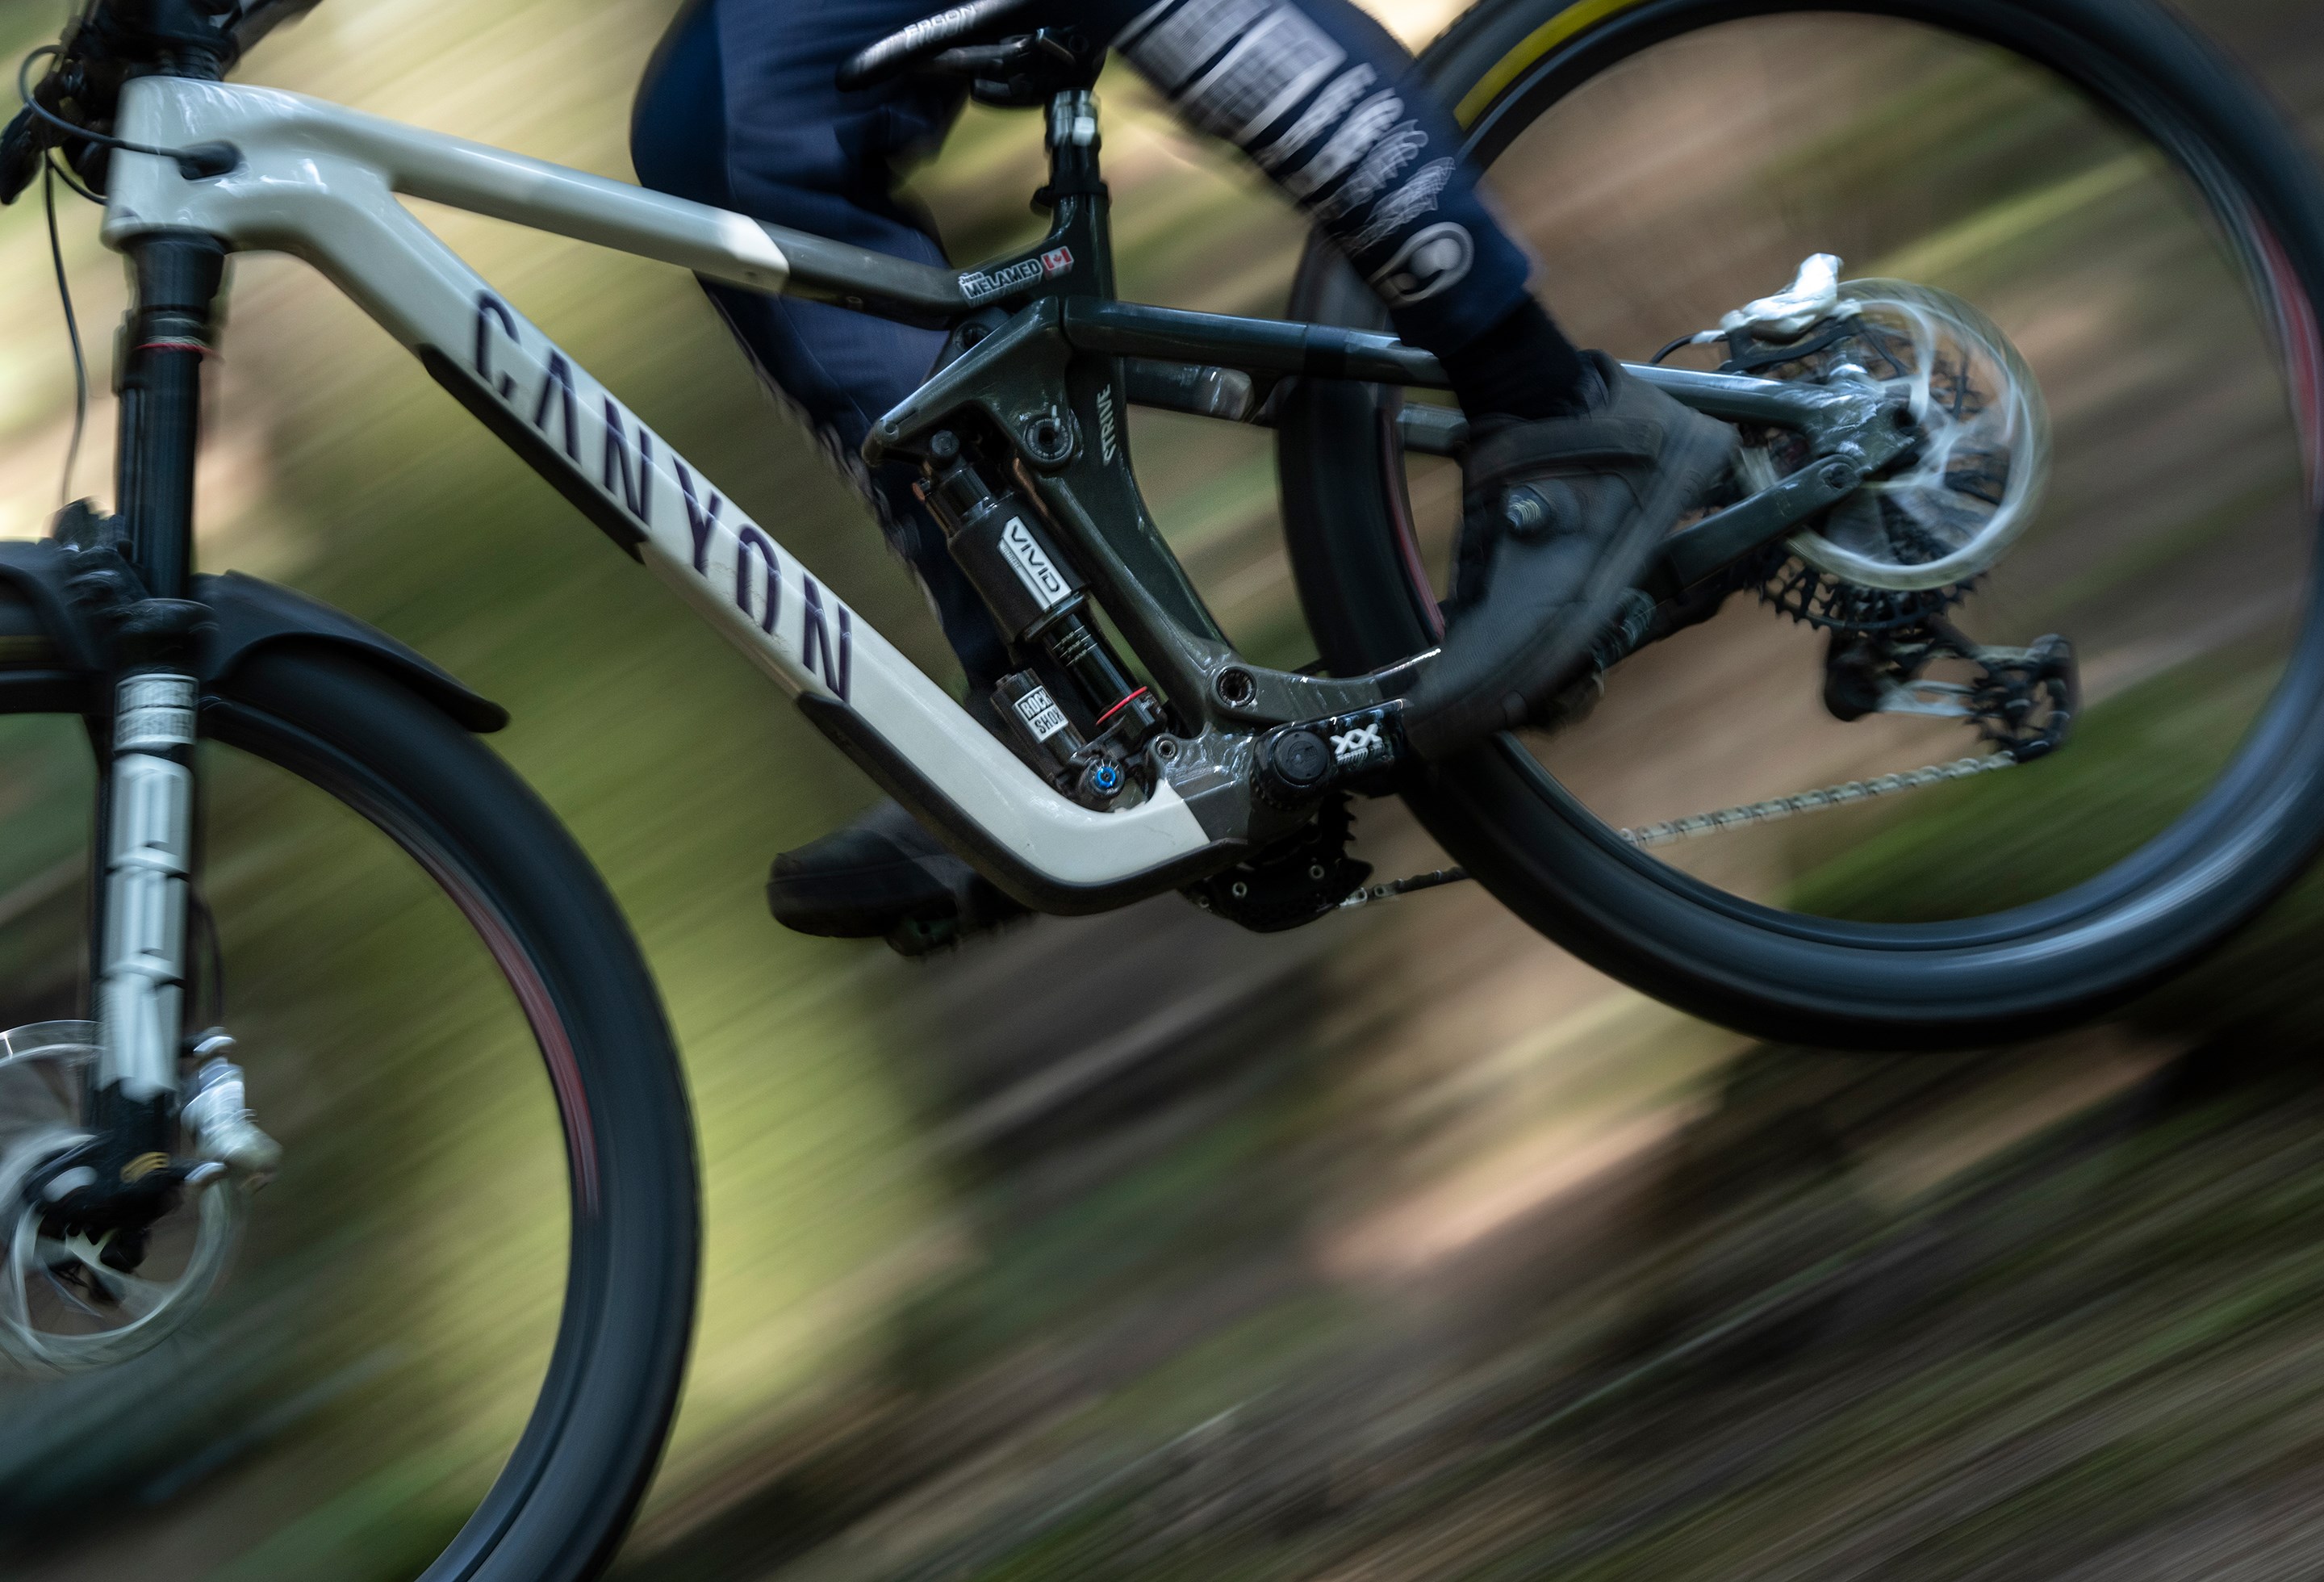
Photos by Mason Mashon and Nik Emerick. Words by Sarah Walter.